Teil 6: Nutzung und Wirtschaftlichkeit von Open Source Software Defined Storage für kleine und…
Ob SDS und damit Ceph kleinen und mittelständischen Unternehmen empfohlen werden kann, hängt vom Aufwand und den Kosten ab, die mit der Installation und dem Betrieb von Ceph verbunden sind. Um...

Installation und Konfiguration von Ceph
Ob SDS und damit Ceph kleinen und mittelständischen Unternehmen empfohlen werden kann, hängt vom Aufwand und den Kosten ab, die mit der Installation und dem Betrieb von Ceph verbunden sind. Um diesen Aufwand, die Kosten und die Probleme abschätzen zu können, wird ein Ceph Cluster installiert und konfiguriert.
In dieser Testumgebung installieren wir Ceph zunächst manuell auf dem KVM-basierten Virtualisierungs-Host, um die Basiskomponenten (MONs, OSDs, MGRs) sowie alle Abhängigkeiten und Konfigurationsparameter nachvollziehbar zu erfassen und die Herangehensweise vollständig zu verstehen.
Anschließend provisionieren wir die virtuellen Server automatisiert über Terraform und nutzen cloud-init, um daraufhin die komplette Installation und Konfiguration des Ceph-Clusters vollautomatisch durchzuführen.
So entsteht ein reproduzierbares, skalierbares End-to-End-Deployment, in dem sowohl das VM-Provisioning als auch das Ceph-Cluster-Provisioning vollständig orchestriert abläuft.
Dieses Vorgehen ermöglicht eine präzise Abschätzung von Aufwand, Kosten und potenziellen Herausforderungen für den produktiven Einsatz in kleinen und mittelständischen Unternehmen.
Für ein reales Bare-Metal-Deployment auf physischer Hardware widmen wir uns in späteren Kapiteln dem entsprechenden Produktions-Setup.
Hinweis: Ab sofort werden die einzelnen Installationsschritte ausschließlich in englischer Sprache beschrieben.
For our test setup, to simplify matters we will deploy a 3-node Ceph cluster in which each VM hosts both a MON daemon and an OSD.
Each Ceph node in our test cluster is provisioned with the following hardware and network configuration:
- Memory: 4 GB RAM
- vCPUs: 4 virtual CPUs
- Operating System: Ubuntu 24.04 Server LTS
- Disks:
- 1 × OS disk (for system and Ceph binaries)
- 2 × OSD disks (for Ceph object storage daemons) - Network Interfaces:
- eth0: Public network (client and management traffic)
- eth1: Cluster network (cluster replication and heartbeat)
Step 1: Configure host name resolution via FQDN
On each node, populate the /etc/hosts file with all cluster members’ internal IP addresses and their fully-qualified domain names. This guarantees that every Ceph daemon (MON, OSD, MGR) can reliably resolve its peers by FQDN.
For example, on ceph-node-0 you might add:
10.10.0.2 ceph-node-0
10.10.0.3 ceph-node-1
10.10.0.4 ceph-node-2
Repeat the corresponding entries on ceph-node-1 and ceph-node-2, adjusting IPs and hostnames as appropriate.
Step 2: Refresh the APT package index
On each node, run:
sudo apt update
Step 3: Install Ceph bootstrap tools and utilities (on ceph-node-0 only)
On ceph-node-0, install the Ceph orchestration tool along with the common packages and utilities:
sudo apt install -y cephadm ceph-common ceph-mgr-dashboard ntp podman qemu-guest-agent bash-completion
Step 4: Install required Ceph packages and utilities (on ceph-node-1 and ceph-node-2 only)
On ceph-node-1 and ceph-node-2, install the Ceph client tools, manager dashboard plugin, time-sync daemon, container runtime, guest agent and shell enhancements:
sudo apt install -y ceph-common ceph-mgr-dashboard ntp podman qemu-guest-agent bash-completion
Step 5: Switch to root and configure passwordless SSH between all nodes
On each node, elevate to root and generate an RSA keypair (once per node), then distribute the public key to the other two nodes:
Become root
sudo -i
Generate an RSA keypair
ssh-keygen -t rsa -b 4096 -f /root/.ssh/id_rsa -N ""
Distribute the public key
On ceph-node-0, push the key to ceph-node-1 and ceph-node-2
ssh-copy-id -i /root/.ssh/id_rsa.pub root@ceph-node-1
ssh-copy-id -i /root/.ssh/id_rsa.pub root@ceph-node-2
On ceph-node-1, push the key to ceph-node-0 and ceph-node-2
ssh-copy-id -i /root/.ssh/id_rsa.pub root@ceph-node-0
ssh-copy-id -i /root/.ssh/id_rsa.pub root@ceph-node-2
On ceph-node-2, push the key to ceph-node-0 and ceph-node-1
ssh-copy-id -i /root/.ssh/id_rsa.pub root@ceph-node-0
ssh-copy-id -i /root/.ssh/id_rsa.pub root@ceph-node-1
Verify passwordless SSH connectivity
ssh root@ceph-node-1
ssh root@ceph-node-2
You should be able to connect from any node to any other without being prompted for a password.
Step 6: Bootstrap the Ceph orchestrator on ceph-node-0
On ceph-node-0, install and configure the Ceph orchestration framework by running:
cephadm install
Once complete, ceph-node-0 is ready to perform the initial cephadm bootstrap and bring the MON/OSD daemons online.
Step 7: Bootstrap the Ceph cluster on ceph-node-0
On ceph-node-0, initialize the cluster by running:
cephadm bootstrap \
  --mon-ip "10.10.0.2" \
  --initial-dashboard-user admin \
  --initial-dashboard-password <strong_password> \
  --dashboard-password-noupdate \
  --allow-fqdn-hostname \
  --cluster-network 10.10.0.0/24
After this completes, you’ll have a single MON running and the manager module (with dashboard) deployed, ready to accept additional OSD hosts.
Step 8: Extract and distribute the Ceph SSH public key
On ceph-node-0, export the Ceph orchestration public key and distribute it to every node (including itself) so that cephadm can SSH as root across the cluster:
Export the public key
cephadm get-pub-key > /root/ceph.pub
Distribute to ceph-node-1 and ceph-node-2
ssh-copy-id -i /root/ceph.pub root@ceph-node-1
ssh-copy-id -i /root/ceph.pub root@ceph-node-2
Install locally (ceph-node-0)
cat /root/ceph.pub >> /root/.ssh/authorized_keys
After these commands, the cephadm user on ceph-node-0 (root) can connect password-lessly to root@ceph-node-0, root@ceph-node-1, and root@ceph-node-2.
Step 9: Register all cluster hosts with the Ceph orchestrator
On ceph-node-0, tell the orchestrator about each VM so it can schedule daemons to them:
ceph orch host add ceph-node-1 ceph-node-2
Step 10: Provision OSD daemons on all available OSD devices
On ceph-node-0, instruct the orchestrator to scan every host for free block devices and deploy one OSD per device:
ceph orch apply osd --all-available-devices
Once complete, you will have six OSD daemons (two per node) integrated into the Ceph cluster, ready for use.
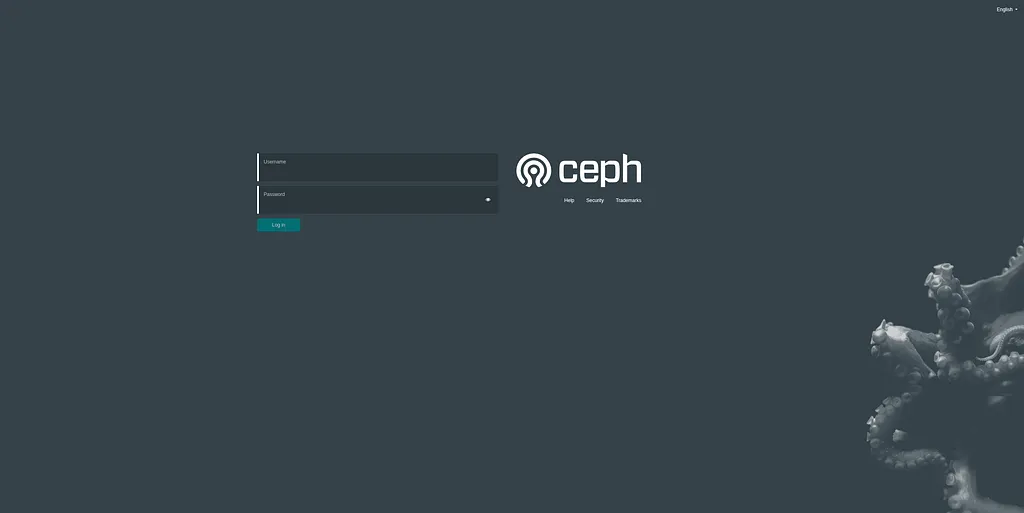
With the Ceph cluster now fully deployed and accessible via the dashboard at https://10.10.0.2:8443/.
Im nächsten Thema geht es um die:
Teil 7: Skalierung und Performance von CephFS-Metadaten